How to Use a Shooting Tents for Small Product Photography
Many crafters, cooks, and artists want to take high quality photographs of their own creations, whether to feature them in a blog post, offer them for sale online, or just share them with friends. The trick to getting these kinds of product shots easily and reliably is to use a light tent. This article will cover the fundamentals of shooting with a light tent to help you capture bright, high quality product photographs every time.
What is a Light Tent?
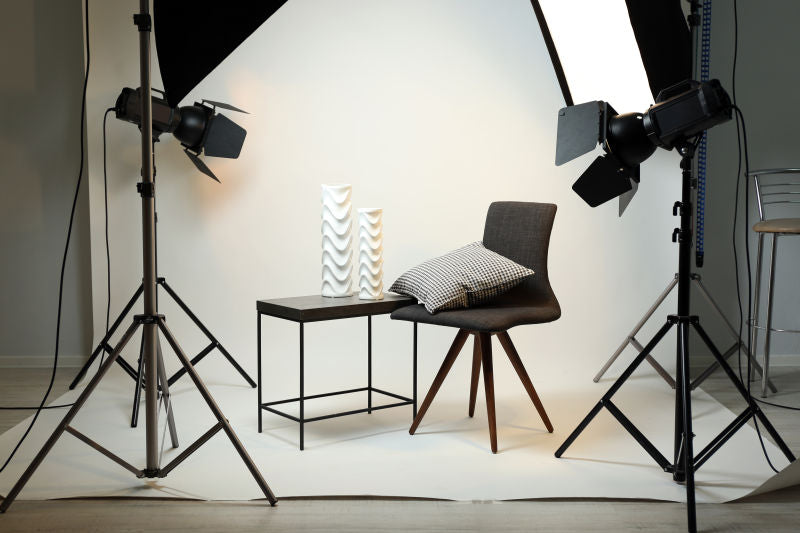
A light tent or light box is a contraption with translucent sides that diffuses light coming from multiple sources. This allows for even, nearly shadow-less lighting against a simple, solid background.
You can purchase a light tent as part of a kit or you can build your own DIY light tent. If you choose to purchase a light tent kit, it will usually come with one or more light tents, two light bulbs, two light stands, a tripod, and fabric backdrops in various colors. If you build your own light tent, you will also need to purchase two posable light sources, light bulbs, and poster board or fabric for the backdrops. Unsure of which to choose? In a future article I will offer a head-to-head comparison of a popular light tent kit and a DIY tent.

Shooting with a Light Tent
The standard set-up for light tent photography is to place the tent on some kind of table or end table, with the light sources directly opposite each other on each side and the tripod centered in front. Placing the tent up on a table makes it easier to see and maneuver, as well as easier to use your tripod for shooting.
The backdrop is attached at the top inside the tent and should fall freely down into a gentle curve at the back and then across the bottom of the tent. You want to be sure that you backdrop is clean and free of debris and wrinkles. If using a fabric backdrop, be sure to iron it for a completely smooth look. (If you roll your backdrops up on a cardboard tube after shooting, you should be able to keep them wrinkle-free for next time.) Consider keeping a lint roller or small blower handy for dealing with the inevitable dust and debris.
Now you are ready to start photographing! Place your subject carefully inside the tent, and start with it in the exact center. Moving your subject forward or backwards relative to the light can change the lighting and shadows. Experiment to get the look you want. You can also experiment with pointing the lights slightly at an angle, rather than straight on at the tent. Be sure to leave space between your subject and the walls, so that you can zoom in or position your camera to see only the backdrop and not any edges.
Consider the ambient lighting and adjust as needed. I have found very little difference between shooting midday in diffused indoor light and shooting at night with only the lights themselves for light. You do want to avoid direct sunlight shining in or at your tent, as it will be difficult to balance such a powerful light source.

Camera Set-up
Set your camera securely on the tripod and use either the 2-second timer or a remote shutter release to ensure that you tripod remains steady. (If you are using a lens with image stabilization, vibration reduction, or vibration control, turn the switch to off.) The tripod will allow you to use longer shutter speeds with crisp results.
Begin by shooting in aperture priority mode with an ISO of 100 (or the lowest value for your camera). Choose your aperture based on the look that you want to achieve in the image (a wide aperture like f/1.8 for a narrow depth of field and a lot of blur or a narrow aperture like f/22 for a wide depth of field and crisp focus across the entire subject). Food photographs often utilize wide apertures and selective blur to make food look more appealing, while product shots of crafts and handmade goods look best with a narrow aperture to keep the entire item into focus. IF you want to avoid blur in the foreground (the bit directly in front of your object) – set your focus using the part of your subject that is closest to the camera.
Post-Processing Considerations
It can be difficult to get the background of your shots perfectly white or perfectly black while also keeping your subject properly exposed. In those situations, you may want to do some additional post-processing to ensure that your whites stay white and your blacks stay black. The following description relies on tools available in Adobe Photoshop, but you should be able to do many of these same procedures using other software products.
If you are shooting in RAW, adjust the white balance of your image first so that your whites look white and not yellow. Most light bulbs will list the color temperature of the light they produce, which you can use as a guide for setting the white balance. You can also set the white balance manually by shooting a white card and calibrating from that image (or if you know your background is pure white or black use the color picker in the RAW processor to neutalize any tint).
Use your histogram as a guide when processing. While standard photography advice recommends against having your histogram touch the edges of the scale (clipping), this is what you want to achieve in product shots. Clipping your background (whether on the left for black, or on the right for white) will create an entirely homogenous look to your background and focus all attention on your subject.


